Supplies:
- Box Large Jewelry by Provo Craft
- Once Upon a Princess Cartridge by Cricut
- Storybook Font Cartridge by Cricut
- Sugared Collection Pack by Basic Grey
- Flower Layers Value Bag by Color Me Crazy 60 ct
- Rose Petal Paint by Making Memories, 2oz
- Avocado Paint by Making Memories, 2oz
- Rhinestones
- bazzill bling cardstock-Burgandy and pink
- Cardstock -Tan, Brown, Pink, White & Yellow
- Rich Rustics Color Box Cat's Eye Queue by Clearsnap -Brown
- Black Tulle
- Stickles
- Ribbon
- Far East Bundle (Japanese Scales Embossing Folder)
- Blue Designer Machine and Tool Kit by Cuttlebug
- Expression Machine by Cricut
- Design Studio by Cricut or Gypsy by Provo Craft
- Pop Dots
Directions:
- Paint the top of the box Alvacado Paint by Making Memories, 2oz and the bottom with Rose Petal Paint by Making Memories, 2oz. Let completely dry.
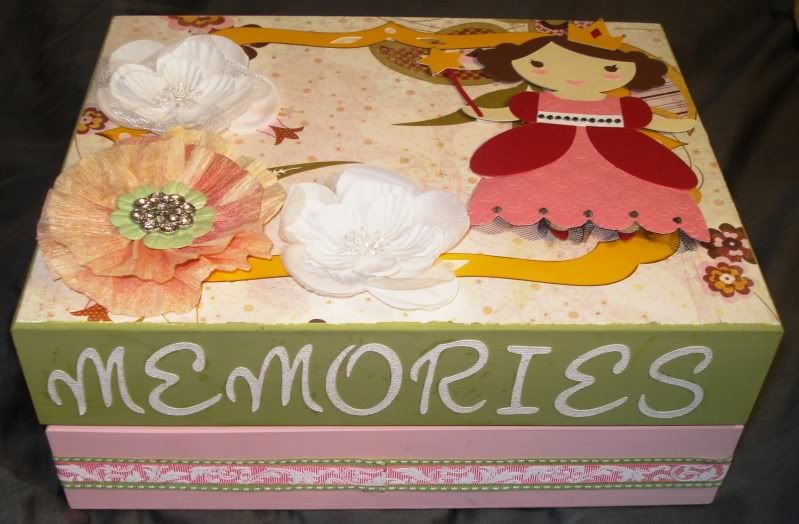
- Cover top of box with Basic Grey - Sugared-Dumpling Paper and sand edges.
- For the yellow frame on the box I used the Storybook Font Cartridge by Cricut. <boy-s> It's the BdayBoy Accent frame at 11" x 8". You can use your Design Studio by Cricut or Gypsy by Provo Craft to manipulate the image. Ink edges with Rich Rustics Color Box Cat's Eye Queue by Clearsnap -Brown Chalk

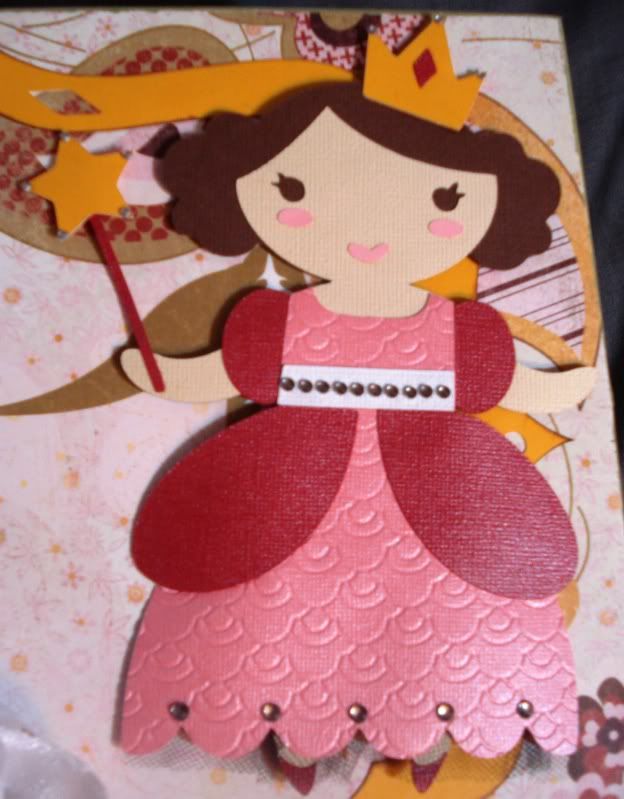
- To make priness I used the Once Upon a Princess Cartridge by Cricut . <Princss1> for the Doll and <Doll1> for the outfit. All cut at 7". I used Brown, Tan, Yellow, Pink, Bling Burgundy and Bling Pink Cardstock. After assembling the doll.
- Assemble the dress separately. Emboss the pink bling dress with the Far East Bundle (Japanese Scales Embossing Folder) and pleat black tulle underneath the dress. I use my adhesive to hold it down. Then attach dress to doll and attach rhinestones. Attach to box with Pop Dots.
- Apply Flowers to box (see tips and tricks on how to make the glimmer mist crate paper flower)
- Cut Memories out using the Once Upon a Princess Cartridge by Cricut . Apply clear Stickles. And adhere to front of box.
- Line bottom with Ribbon.
- Enjoy your Princess Memory Box!


3 comments:
Love that you used the Japanese Scales embossing folder for the dress on here! This is so darling, Janee!
Super cute-I love the texture in her gown
Super cute-I love the texture in her gown
Post a Comment